Showing posts with label DIY. Show all posts

22 February 2013

dear friday...{confessions and a freebie!}

a snippet of Valentine's day...i cannot keep my eyes open when flash is involved.
dear fiance: thank you for bringing home flowers. and for taking care of me through my latest sicknesses. i love you more than you'll ever know :)  dear sister: i am so excited to meet my new{est} nephew in a few months!!  congratulations again.  dear baby brother: i hope you guys rock your basketball game tonight! go eagles!  dear mysterious migraine/sinus thing: really?  it's been several weeks now.  please just go away now.  dear snow: yeah you can leave too.
Photobucket
...
I confess...
i am anxious for these upcoming months...3 weddings (including my own!) and a new baby nephew on the way.  a lot of things going on!

i am worried that things are going to get harder soon as money gets tighter thanks to so much missed work due to my health problems...but i don't know what to do about it.  just hope.

i am regretting having such a large bridal party!  somehow it makes it more nerve wracking to have so many more people up there with us...and i'm still not over the nightmare in which my friend fresstyle raps to marry us...

i am so sick of being sick.  i don't remember my last "non headache" day.  it's always there, even if it's not a bad one.  i am sick of this.  sick of missing out on everything lately.
 photo HighHeeledLove_zpsbbcc137c.jpg


...
And just because I love you guys, I made a really cute iPhone wallpaper.  Free for you to download :)

(get the full sized version here)


14 February 2013

Make Glitter Letters in PS Elements

Since it's Valentine's Day...I thought I'd hook you guys up with a little gift.
A tutorial that I think is pretty awesome.
Especially because I did it all myself.
Score one for me.


I know what you're thinking.
"OMG she's actually posting a tutorial she promised us!"
Yupp.  I am finally posting a tutorial I've promised to you!!  I have a thing for glitter, and I've seen blogs and sites with glittered text...and I wanted it!  So I googled a bit, read some different tutorials...and discovered that doing it in Photoshop Elements is a bit different than Photoshop.
Actually, a bunch different.
Luckily, I spend enough time messing around with PSE to figure this stuff out.

I use Photoshop Elements 10 for all my photo editing (except for what I mess with on Instagram...oh, and since losing my camera charger cord most of my pics are thanks to my iPhone now.) because it's affordable, easy to use, and definitely worth investing in!  I have used it to create all of my blog designs (oh yeah, I make all my own stuff. FYI) and it rocks.  But enough about me and what I do when bored...on to the tutorial!

1: You first need to set the glitter background as a pattern.  I found free glitter downloads here and here.  You use the select tool to make a square/rectangular selection of glitter (you don't want any of the background or it doesn't work properly...trust me).

2: Then you'll go to Edit > Define Pattern From Selection.  This will save the glitter background to your Patterns for use later on.


3: To start making glitter letters, open a new blank file and add a layer of text.  Thick fonts work the best for this.  You can find a ton of free fonts on dafont. The font I'm using here is Channel.

4: Making sure the text layer is selected (it has the dark box on the right hand side like shown above), go to Layer > New Fill Layer > Pattern.  Check the box "Use previous layer to create clipping mask".  Click ok, and the box will pop up letting you select which pattern to use.  Choose one of the glitter patterns we made above.

5: See the glitter now? We're almost done!  The glitter makes the edges of the text a bit less clear, so to make it really pop, we're going to add a bit of shadow to the text.  Make sure your text layer is selected again (not the pattern layer), and go to Layer > Layer Style > Style Settings.  Check the Drop Shadow box.  You can adjust the shadow to your liking, for this example I set the size to 2 pixels,  distance to 1 pixel, and opacity to zero.


6:  The only thing left to do is merge all your layers together to save your image as a picture!  You can do as many different layers of text as you want, just make sure you follow all the steps properly to apply your patterns to the right layers!  Woohoo - glitter text in five minutes!

Please be sure to let me know how this tutorial worked for you!  And don't forget to Pin this :)


{please note - I did not create the glitter background patterns used here.  I have included the links to the glitter patterns above.  This tutorial is based on a tutorial by SweetC'sDesigns, but as her tutorial was for Photoshop, I changed everything to be applicable to Photoshop Elements users.}

06 February 2013

What I'm Loving Wednesday

Since I've been spending so much time planning my wedding lately, which is causing me a ton of stress, I have found that browsing around on Pintrest is one of my favorite new ways to destress and find cool new ideas for everything from home decor to how to make little kids eat veggies.

So I decided that Wednesdays should be a day for me to share What I'm Loving with all of you!

{tutorial here}
Gel Mani at home?  Awesome.
walking dead workout :). Maybe I'll actually lose some weight this spring!
whoever came up with this was a genius.
love this
LOVE this outfit. gorgeous.

I really want one of these iPhone cases.

I am obsessed with monograms lately. Like this. And this one. And here's another...

Sugar skulls are always awesome.

These dresses are gorgeous...I should buy one.

I need new glasses.  These are super cute.


So what are you loving this Wednesday?
 

08 July 2012

What did you do today, Traci?

Oh ya know, the usual.
Stalked Pintrest for like a zillion years.
Then spent several hours going through engagement pictures, editing, re-editing, exiting without saving and having to edit again...in order to bring you...

{ok, pretty much for me, as i'm seriously obsessed}
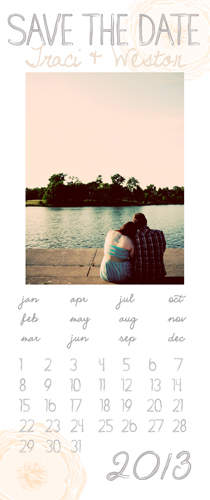
Some of the Save the Date's I've been {obsessively} creating!
And honestly, I'm trying to DIY as much of this wedding as I can...
Well to a point.
But most definitely the Invites & Save the Date's & my bouquet (one of those pretty brooch bouquets!)


Calendar template:  {weddingchicks}
Flower brushes:  {inknest}

And here are some I made up myself:
this banner is from {inknest} too


I feel like printing like a million of all of these...
Which one's your fave?


27 April 2012

I feel naked.

Today, I forgot to put my engagement band back on after putting in hair junk.
Consequently, I feel naked and keep thinking I lost it someplace...not a fun feeling.
I know it's on my bathroom counter. I hope...

Also,  I'm not wearing any makeup today.
Which is pretty normal at work, but I really wanted to put on pink eyeshadow today.
Not really gonna happen when you get out of bed twenty minutes before having to be at work.

{via}
Also, it is the end of April.  And my furnace quit working. (Third time this year, btw.)
Not a big deal, one would think...it's almost May. Plenty warm.
But this is the week it decides to SNOW (okay only Monday but still)
This morning there was ICE on my car.
You can imagine how warm my house is right now.

In an effort to keep my house above freezing temperatures, I've been baking stuff the last couple of nights.
Wednesday, it was pumpkin bread. Yesterday, I made peanut butter fudge brownies.
(Don't get too excited, they were box mixes. Delicious and simple)
(Though I didn't bake the brownies long enough so they're a little gooey)
(Still yummy though)

Today, because it's Friday and I don't do a darn thing with my Friday nights except make pretty things for Etsy, I'm going to attempt a brand spankin' new recipe.
The other day, I came across this amazing looking recipe on JustLove.lyThings (whom I'm sponsoring for the month of April - go check it out!) for Lemon Blueberry Cupcakes.
Forreal.
How delicious does that sound?!?


the recipe

Despite my love of boxed mixes, I am pretty good baker.
So fingers crossed that these turn out correctly!

I will be sure to post pictures tomorrow :)
(unless my kitchen is even messier than I think it is...then it'd be too embarassing)

<3

12 April 2012

These are a few of my favorite things...

When the dog bites, when the bee stings, when I'm feeling sad...I simply remember my favorite things, and then I don't feeeeeeeeeeeeel so bad!
(Yupp, that's me singing to you. You're welcome.)

Just a quick roundup of my favorite things of the week :)

Noella Beautyworks Foundation
Seriously, the BEST mineral foundation I've ever tried. 
KnotieTies
The cutest hair accessories ever. Legit.
Available in my shop
Yeah, a little self promo there...but I LOVE this.
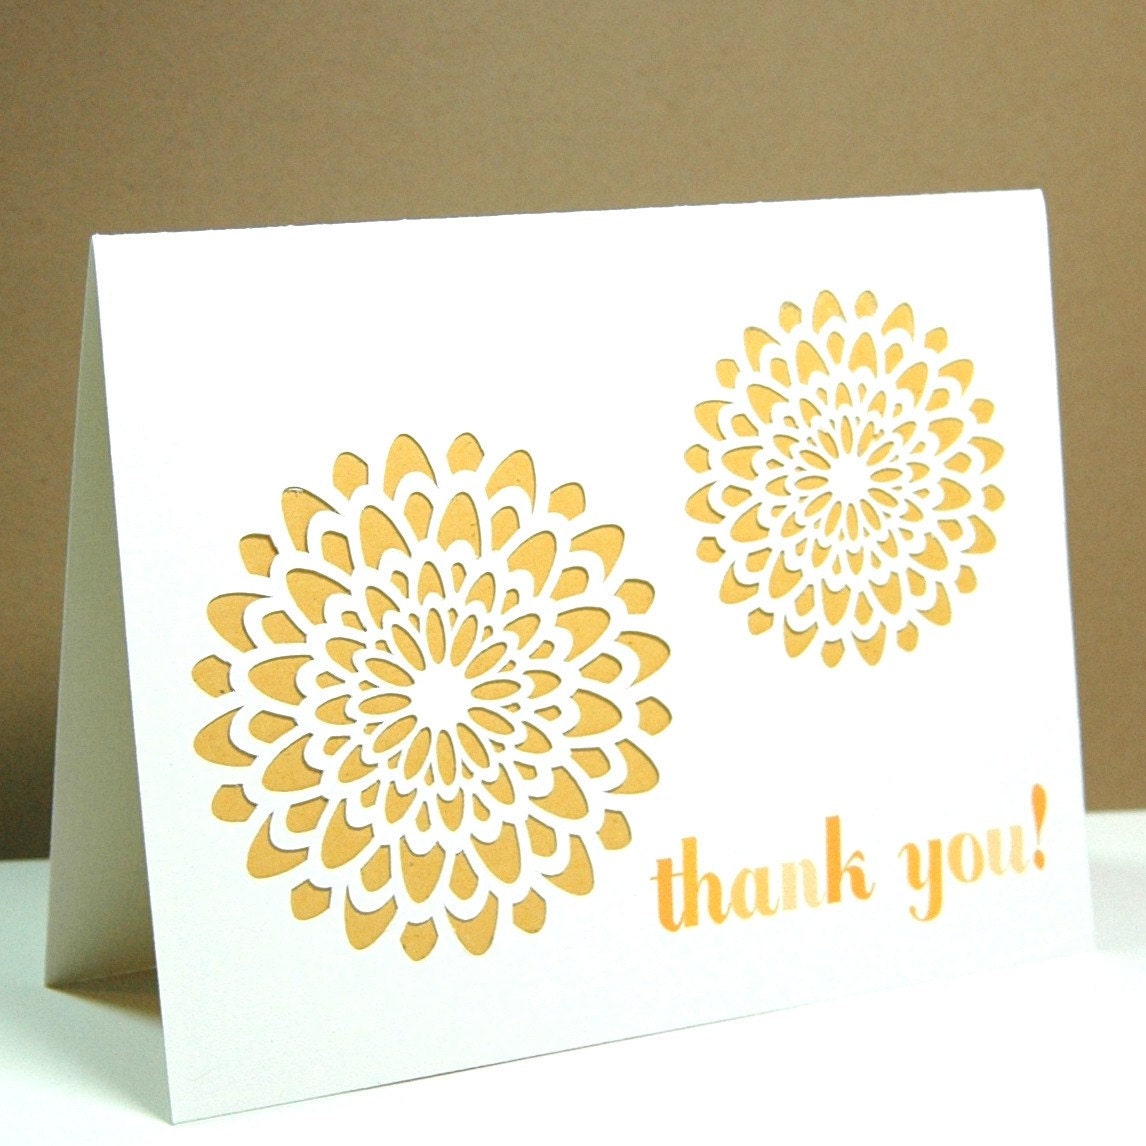
KTFDesign Thank Yous
I bought some of her lovely stationery back in December, and I NEED to go back for more!
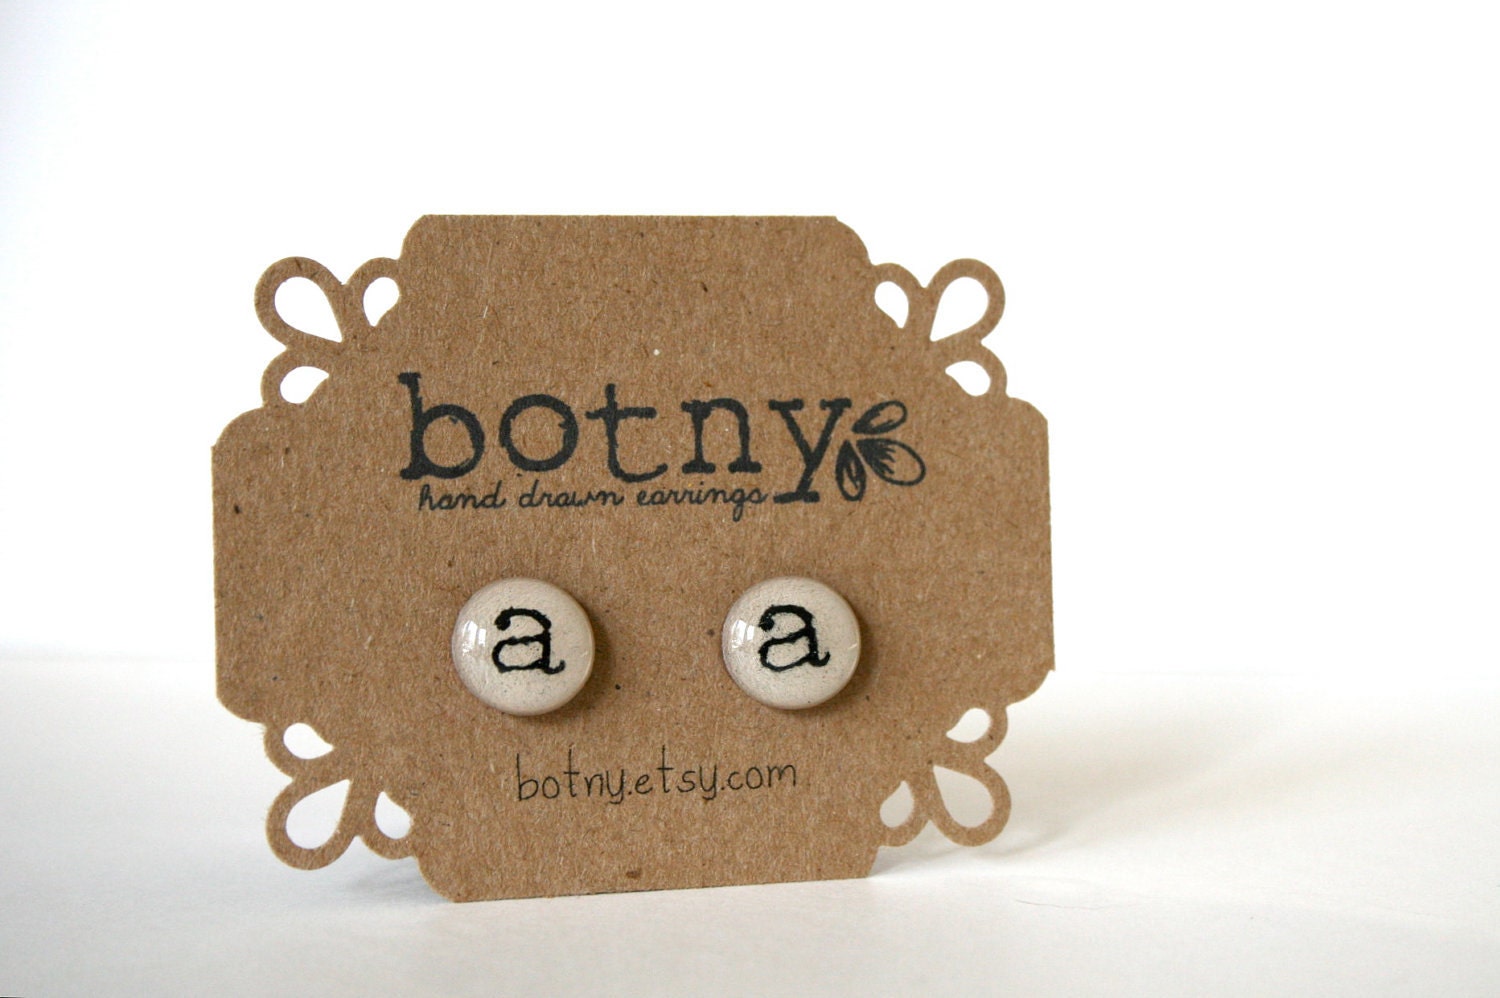
Botny Custom Earrings
Seriously, how CUTE are these??

05 April 2012

And...Actions!

Last month I decided to invest in Photoshop Elements.  Because Picnik was closing its site and I didn't have another way to edit my Etsy pictures.  At first, I figured I'd just get Photoshop.  It couldn't really be that expensive, right?  HAH. Wrong. So very wrong.

Not willing to spend a fat grand on a photo editing program, I shopped around and found Elements.  The newest version of which I found for around $90, versus $900.  

And immediately upon installation of Photoshop Elements, I fell in LOVE.  It's really pretty easy to use, provided you read directions (which I don't generally, but in this case I had to), and there are a TON of easy online tutorials to follow.   

Then, whilst perusing online tutorials, and being so jealous of how cool other people's pictures look in general, I discovered that there are some Photoshop Actions that have been modified to work in Elements, and there are some Actions created especially FOR Elements.  Which means I can make my pictures look PRO, with a click of a button.   Muy easy.  (That means very easy in fake Spanish).  

There are a ton of great photography blogs out there, and so many awesome tutorials it's hard to pick any of my favorites.  But I did find some uhhhhmazing FREE actions here:  { Pioneer Woman }

So I made these:


My ridiculously gorgeous fiance.  I miss that mustache.

oh hey. I'm just that pretty all the time. Thanks.
These ladies are pretty darn awesome too:

And if you're looking for a way to make, say, a lovely blog header or a Christmas card, look no further than:
Birdesign }

What are your favorite photography tools, hints, tips, tricks, blogs, or shops??

<3

02 April 2012

Sort of a tutorial.

I've been working on some new fabric and sewn goods for my shop, largely because I got a new sewing machine for Christmas that I haven't played with much, and I recently rediscovered the huge bin of really neat vintage fabrics I've inherited from my great grandma.  Of course, it was stored in Florida for years, so everything has that lovely mothball aroma to get rid of first!  I started with three of my favorite, most spring-y fabrics, and I'll keep washing the rest as I decide to use it.

I am planning on making a bunch of new clutches and other bags, big and small, but after looking at so many really great bracelets lately, I felt like doing something simple and making a pretty braided bracelet.  This was actually my first time trying this, and I totally make it up as I went, so trust me when I say this is probably the easiest and quickest spring project ever!  Here's what you need:


-Strips of fabric
-Button
-Needle and thread

The first thing I did was to cut three long strips of fabric to braid together.  You can use just two pieces, or pretty much as many as you can braid! I left the edges raw, allowing the bracelet to continue to age and fray as you wear it. I folded them in half and made a knot, big enough for the button to fit through.   Then I braided the fabric into a bracelet, long enough to fit comfortably around my wrist (you can measure as you braid).  When I reached the length I wanted, I knotted the end of the braid.  Then I got out my needle and thread, and sewed the knot closed, and added the button. 

Voila!  A cute and pretty spring bracelet (or cuff depending on the width and bulk of your strips!) prefect for wearing all over!

And here are some of the cute things I made with my new sewing machine:

Bright Clutches
I also made a realllly cute patchwork clutch, but had to keep it for me.  It was so darn cute I gotta make about a zillion more though.  Keep your eye on the shop for more of these goodies soon!!
LolitaRose }

31 March 2012

Blog Button

I've gotta take a second here to give myself some major props here...because I generally stink at figuring stuff out on my own, and I'm OWNING lately at figuring out how to do stuff myself.  Woot woot.  

Anyways.  I always see other people's blog buttons on their sidebars, and have wondered for ages how you do that.  

Well, dun dun da dun, thanks to the magic that is Google, I have discovered the secret to creating my own blog button.

Voila.


Thanks to Photoshop Elements & { Birdesign }'s LOVELY frame sets, and some free online fonts, I created this beaut myself.

And thanks to { mypregnancybaby } it's now findable on my sidebar, for you to grab at your leisure. 

Hope you find this totally useful :)


Slobbity slob.

Alright, I've seen these outfit posts EVERYWHERE lately.
But...I suck at taking self portraits.  This is largely because I rely too heavily on my crappy cellular device for these photos, but I digress.
I'm also not generally dressed up cute enough to post a fun picture of my outfit.

Today is Saturday.  Lazy Saturday if you will...I've had a headache for three days and finally roused myself enough to actually shower and do makeup.  And decided I wanted to wear a dress.  Even though it's cold outside.  What's a girl to do?  Clearly, throw on some yoga pants and a sweatshirt too.  Duh.

Hi I have 4 eyeballs because I am crap at taking pictures.

You can't really tell, but my yoga pants are purpleeee <3
Shirt: {Roxy}
Dress:  {SO}
(for the sake of full disclosure, I bought both the pants and sweatshirt at Marshall's, cuz I loves me a deal.)
(what's Marshall's you ask? OMG only the greatest thing to happen to fashionistas since TJ Maxx.  Fun fact, owned by the same parent company.  Anyway.  Here:  {marshalls} )

Other fun and interesting information for the day:
I found a new wedding blog to ogle constantly!  Which means more groovy ideas, and fun finds.  It is here:

I found a new fun clothing shop on Etsy that I'm dying to buy from.  Luckily, she's super wallet friendly and I already own shirts I want her to pretty up for me:

This shirt in particular I'm LOVING
Fitted Oxy
Alright lovelies.  Hope you have a spectacular weekend :)

Creative use of Color

Palettes.  Another wonderful time waster...I seriously love making these.  They're way too much fun!!
I totally stole this idea from

The thing is, I have like a gazillion pictures of random stuff (like this heart shaped rock!!) lingering around for no real purpose...but I love all these pictures.  And now I can create color palettes off of any of them.  Super fun, right?  Eh, maybe it's just me. 
Neutral Palette

Softspoken Palette

I have so many more pictures to make into palettes, so you might get to see some of those pretty soon.

What fun new thing have you discovered this week??

30 March 2012

Featured: One Stitch Designs

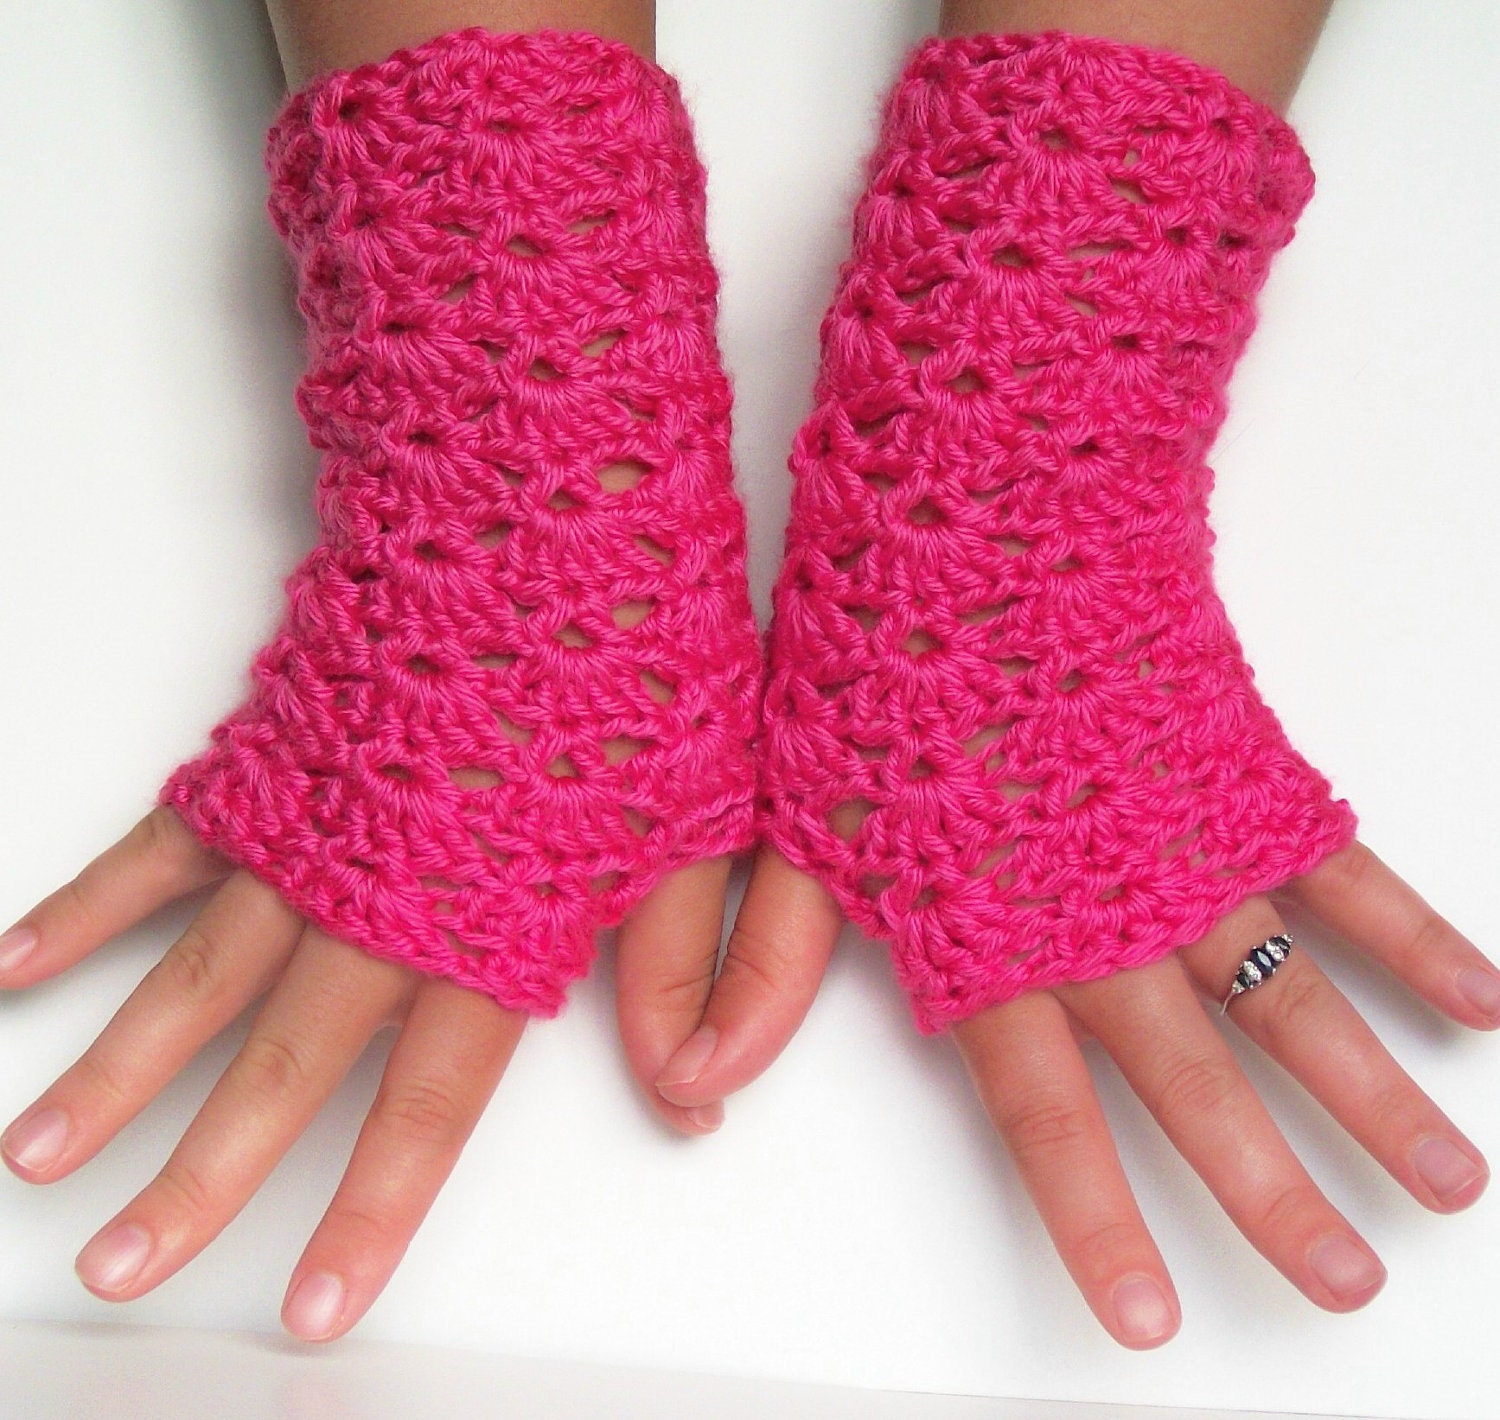
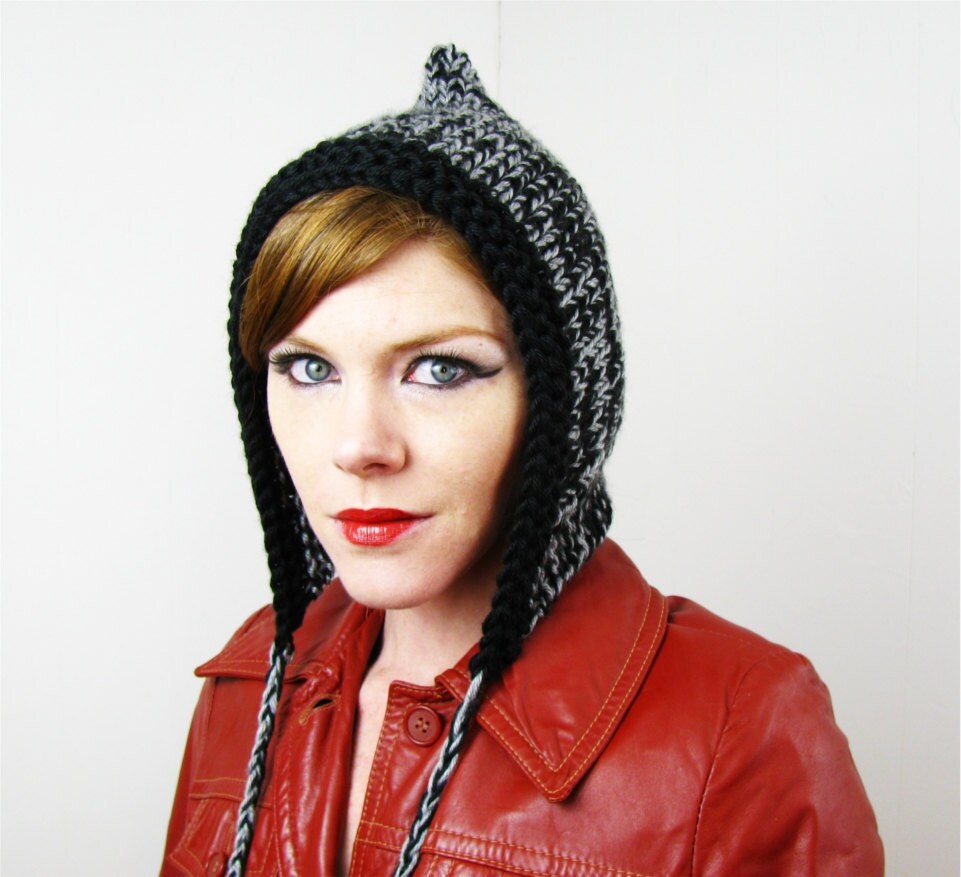
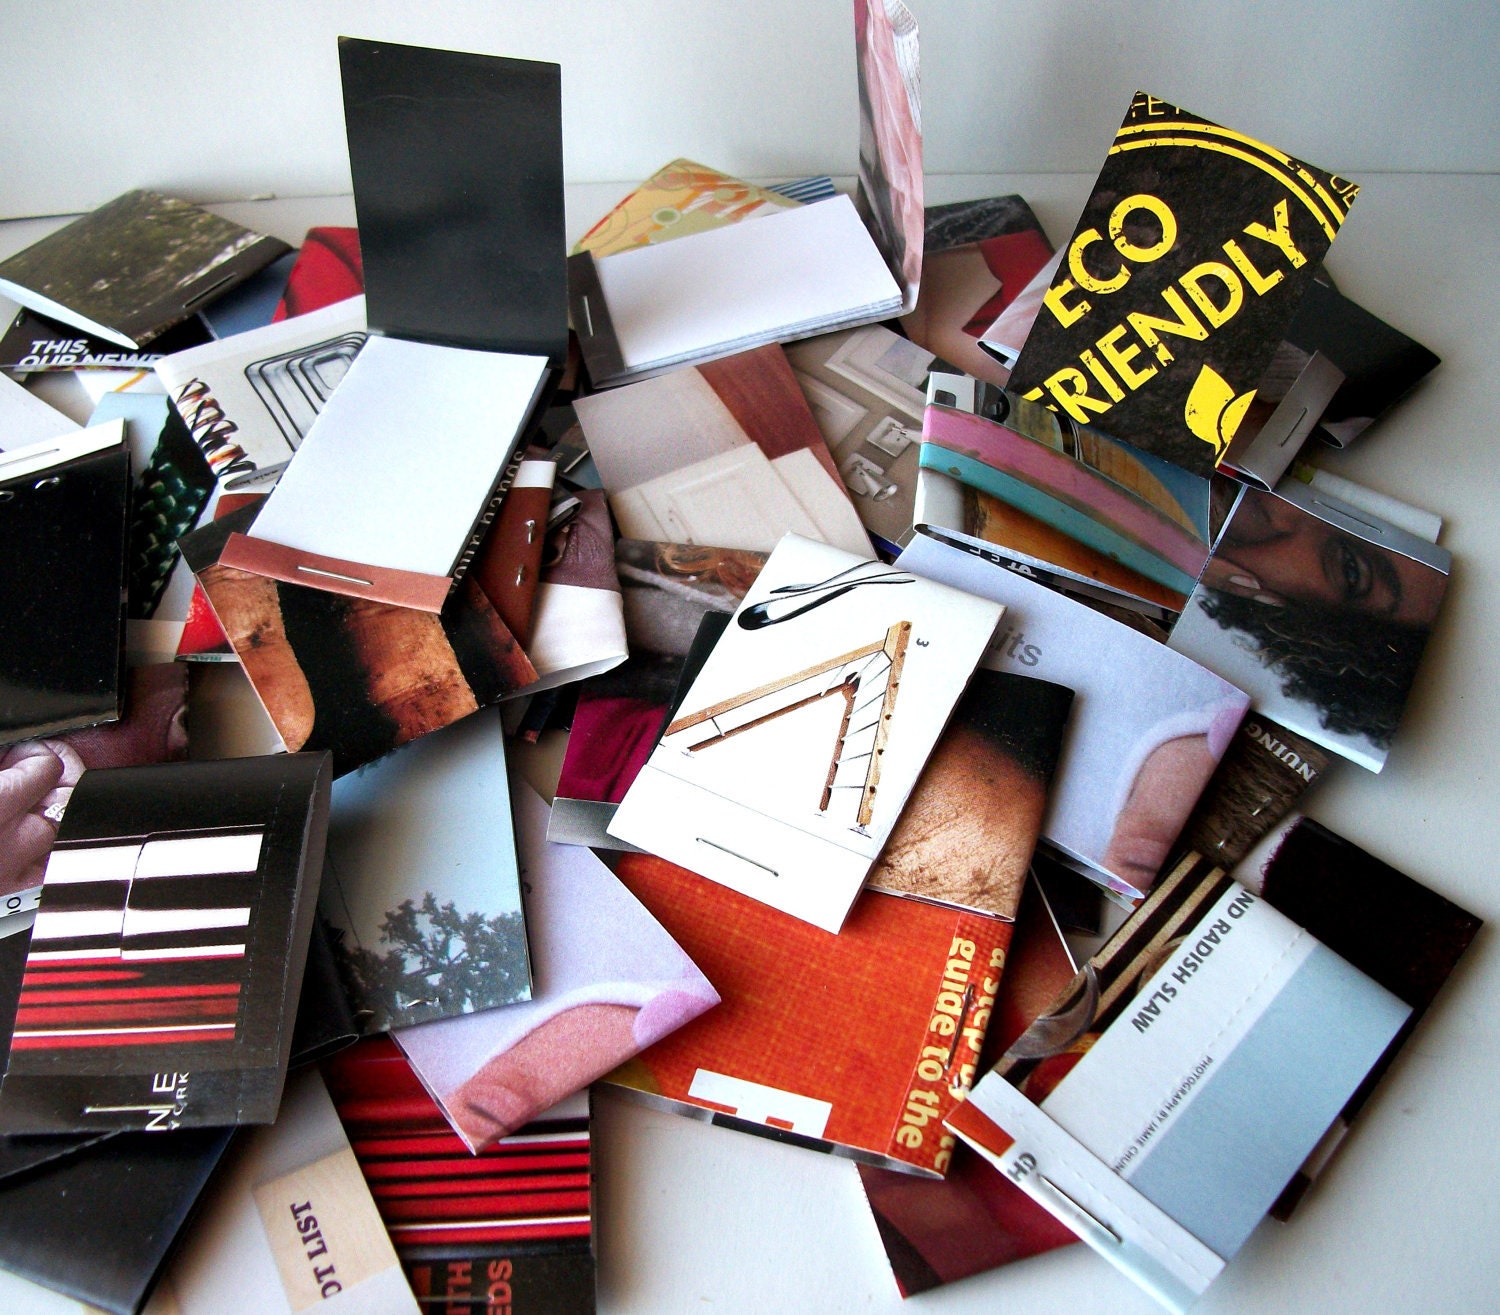
OneStitch has been one of my favorite Etsy shops to browse through for AGES.  She's got it all - cute hats & gloves, coffee cozies, and even adorable matchbook notepads. 

And she's kindly agreed to be my very first shop feature :)


Why did you decide to open an Etsy shop?
3 reasons
*My house was becoming a disaster zone of fiber goodness (but it's worse now :)
*I was in serious need of more money (you cannot live off of 10 hours a week min wage)
*And I really wanted to eventually throw off the chains of the corporate world - no more jobs where you are called 10 minutes before the end of your day and told you no longer have a job (this is my only income now :)
This thing has grown into 2 shops and a standalone website


What is your absolute favorite thing to make & sell?
My favorite thing to make would be clothing, actually. But I never actually sold a piece. My favorite thing to make that I've sold is the gloves- any of them. I've got a glove thing :)


Who/what is your biggest inspiration?
Pixiebell.etsy.com not in product inspiration, but in a "hey, you can make a living off of yarn" sort of way. Diane is really nice too :)

In the event of a Zombie apocalypse (or any apocalypse really), which crafty tool or skill would be your greatest weapon?
Well as for weapons, I have several longbows and can make more. Plus many other weapons :) self defense isn't an issue here!
Survival - I can take any fiber, spin it, and then knit or crochet it to make something warm to survive winter :) That's almost as good as a double tap anyday!

.....

Seriously, how AMAZING is she??  Those gloves, to die for.  Everything she makes is just gorgeous.  Not even exaggerating one tiny bit.  Go check out her whole shop at OneStitchDesigns

Thanks so much, Steph, for being my first shop feature :) 

16 March 2012

F is for Flowers.

At the beginning of the month, I became engaged to my wonderful boyfriend of three years.  Since then, my life has been a wedding planning frenzy! And of course, the first place I turn to is Etsy.  I have found so many wonderful ideas and DIY kits (not just for weddings!) since I started searching; it's so hard to not just buy up everything!  But since my mighty slim checkbook won't allow for that, I've been curating treasuries full of some of my favorites.  And since today is Friday, I figured I'd start off with an F: Flowers.

http://www.etsy.com/treasury/NjgxNTE2M3wyNDY3ODU1ODM4/f-for-flowers
Enjoy :)